Happy Mother's Day
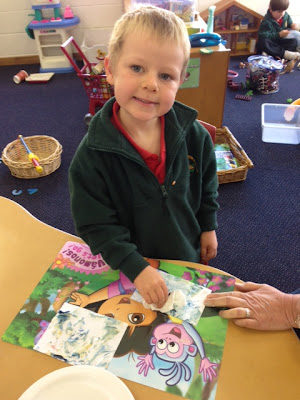
My Kinder/Prep class did some marbling using shaving foam and re-inkers. This was
the first step in a long process to make a very special card for their
mums for Mother's Day.
Step 1: Get an adult to squirt a heap of shaving foam onto a plastic plate.
Step 2: Add a few drops of different coloured re-inkers.


Step 3: Swirl the inks together but be careful not to over mix the colours.


Step 4: Press your paper into the swirled, inky mixture and lift off.


Step 5: Leave for a couple of minutes to allow the ink pattern to soak in and then with swirly motions, wipe off the excess shaving cream.


Step 1: Get an adult to squirt a heap of shaving foam onto a plastic plate.

Step 2: Add a few drops of different coloured re-inkers.


Step 3: Swirl the inks together but be careful not to over mix the colours.


Step 4: Press your paper into the swirled, inky mixture and lift off.


Step 5: Leave for a couple of minutes to allow the ink pattern to soak in and then with swirly motions, wipe off the excess shaving cream.


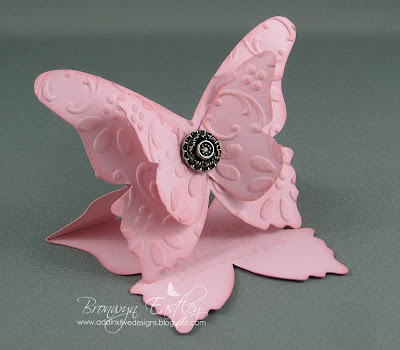
Step 6: Wait for your marbled paper to dry before cutting out the dress shapes with the dies.
Step 7: Cut out the card bases using a Big Shot Machine to make your pop-up card.


Step 8: Attach your 'marbled dresses' to the inside and outside of your card.


Step 9: Decorate and write in your special card for Mum!

Stampin' Up! ® products used -
Card Base Pop 'n' Cuts
Dress Form Pop 'n' Cuts
Framelit Dies - Dress Up
Re-Inkers
MDS - Delightful Dozen - Mother
Word Window Punch, Bitty Butterfly and Elegant Butterfly Punches
You can see all the finished cards and matching fridge magnets that the children made on our class blog -
It was fun to take my SU supplies into the classroom and share with the children what I love to do in my 'spare' time.
Happy Mother's Day!


Comments