The Stamp Review Crew - Project Life Point and Click
Welcome to addINKtive designs. Thanks for hopping by on the SRC Blog Hop. Today we are featuring the Project Life Stamp Set, Point and Click.
If you get lost on the hop, just click on the image below and it will take you to the main blog with all the links -
I really scratched my head wondering what on earth I was going to make for this 'hop' and then the light bulb moment happened when I decided to download the digital version to use with my e-cutter and combine it with the photopolymer stamp set to make a little gift bag using the Cool Like That Giftable Templates. So here's my one and only project to share with you today -


If you want to stick around a little longer, here's a run down on how I made the gift bag -

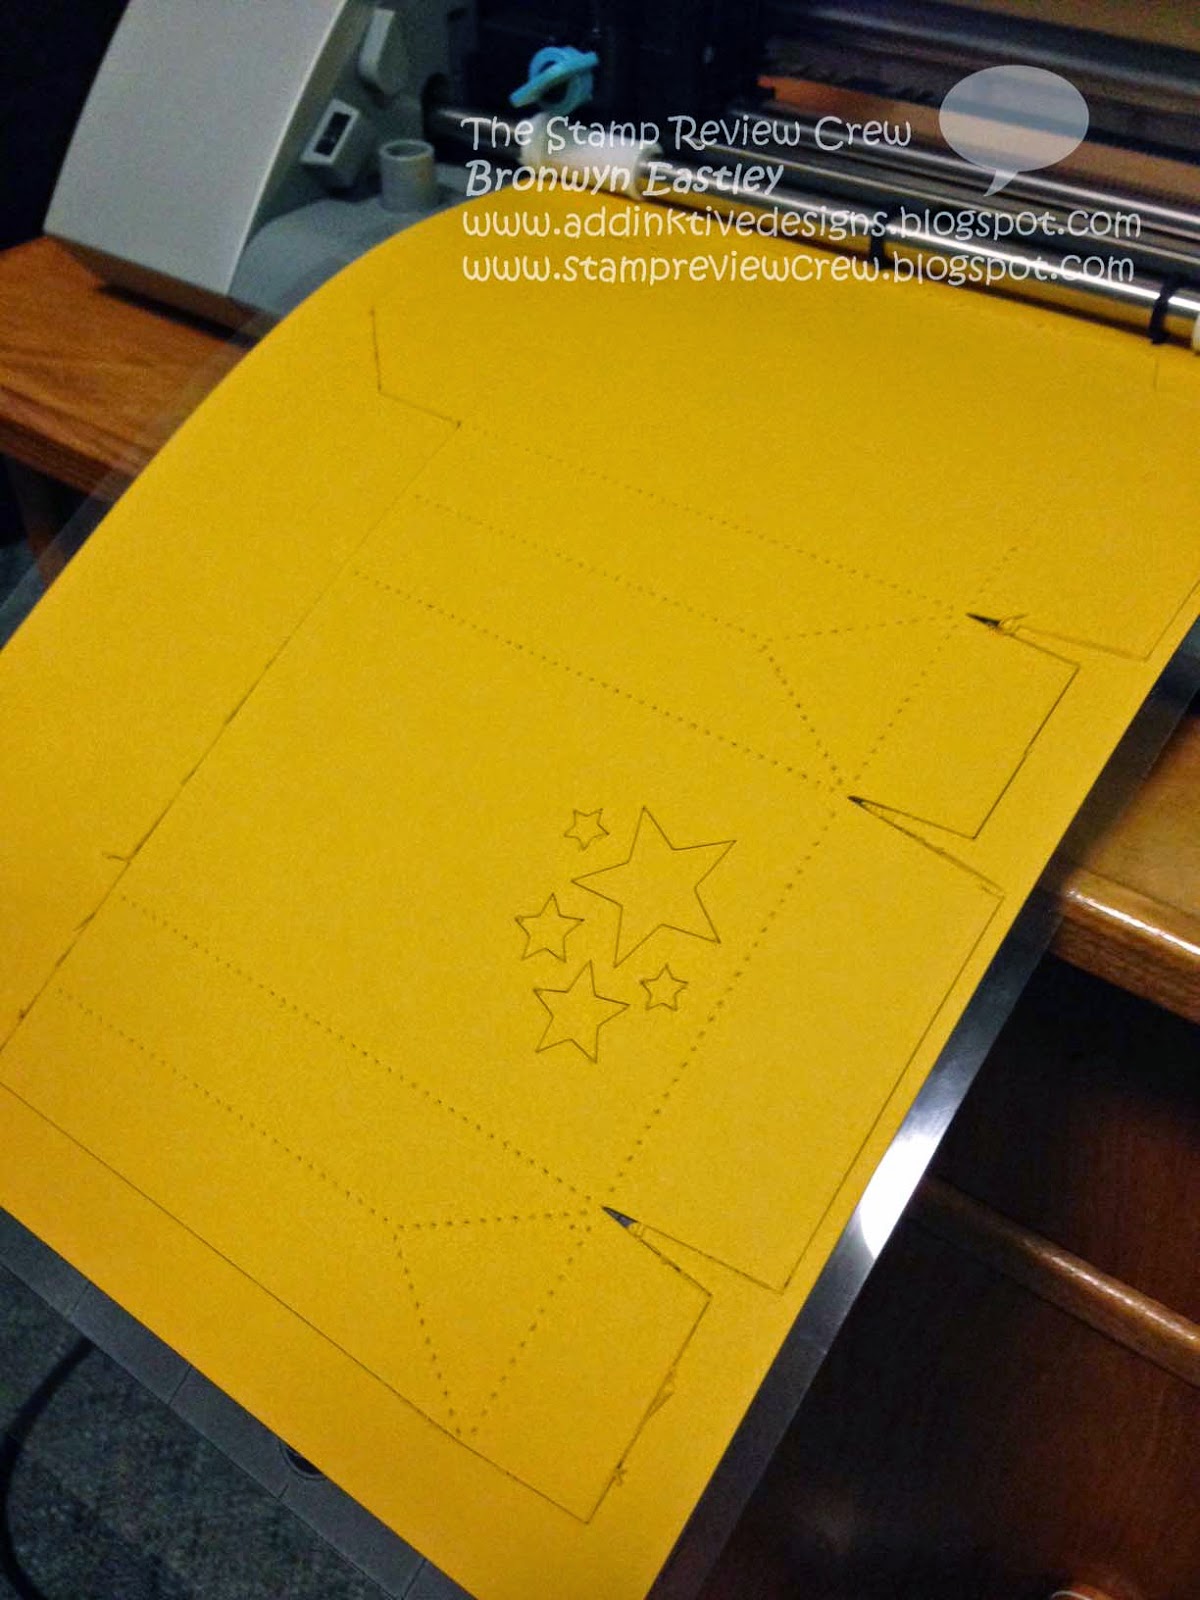
1. Download the Cool Like That Giftable Templates (page 10 of the Annual SU Catalogue) and PL Point and Click Digital Download into your e-cutter program.
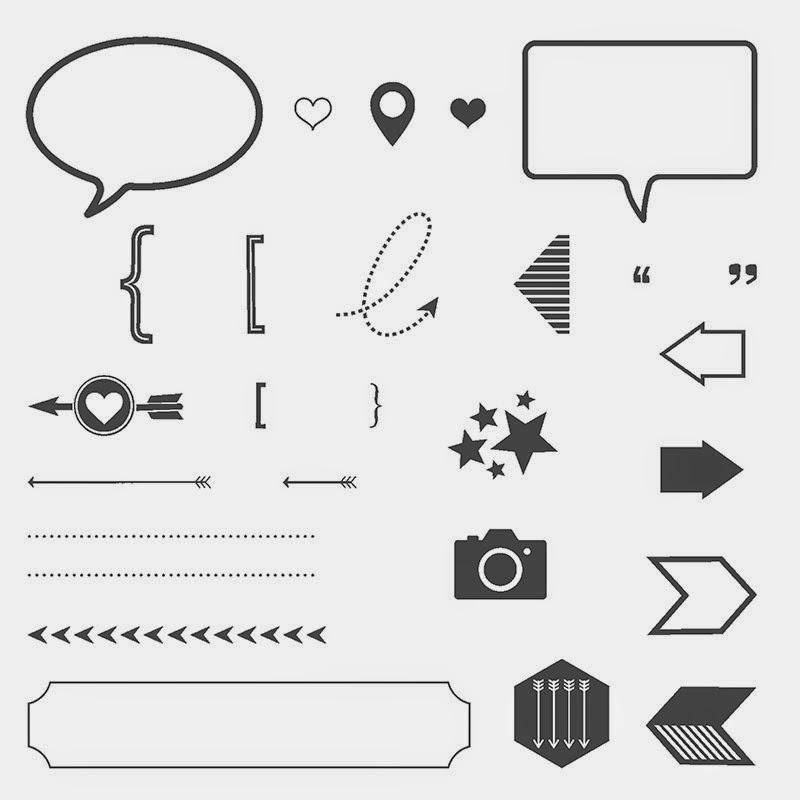
2. Position the cluster star digital stamp from Point and Click onto the gift bag template and turn it into a cutting file to produce the negative cut out on the bag.
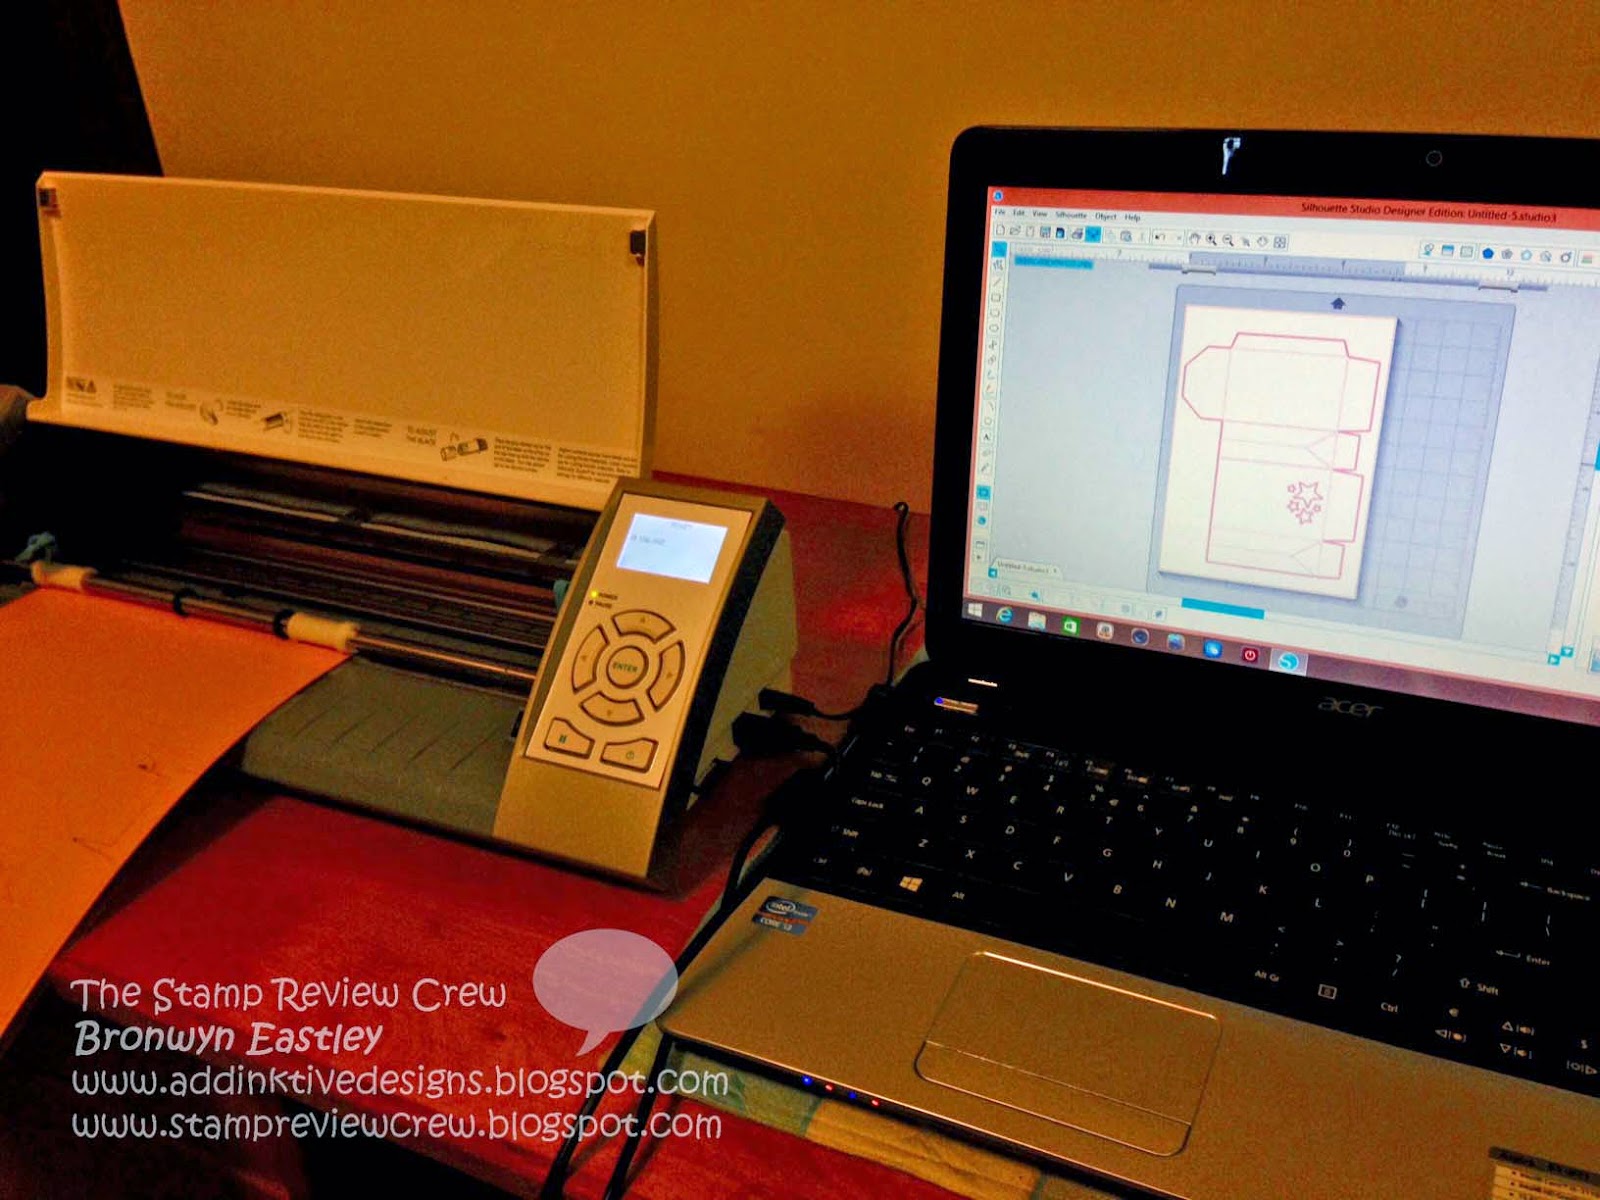
3. Send to your e-cutter and let the machine do the hard work for you.

4. Attach part of a PL card inside the gift bag so the pattern can be seen through the stars.
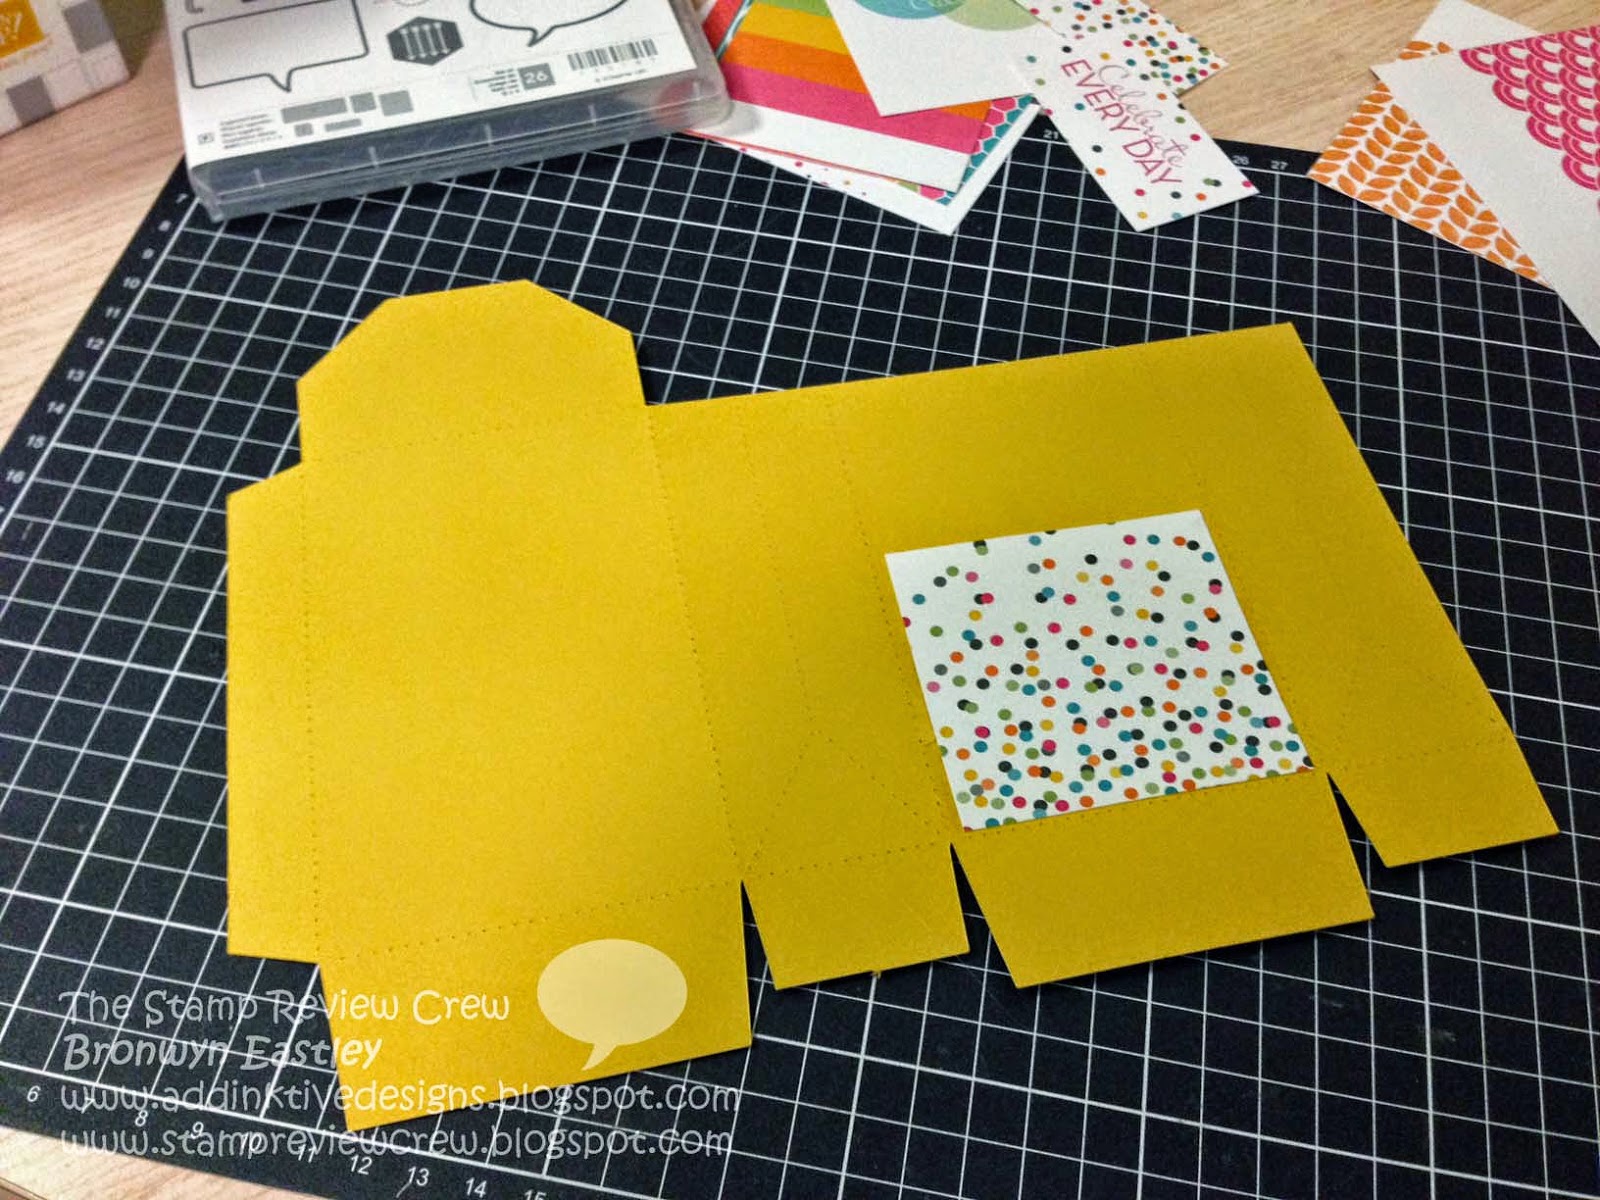
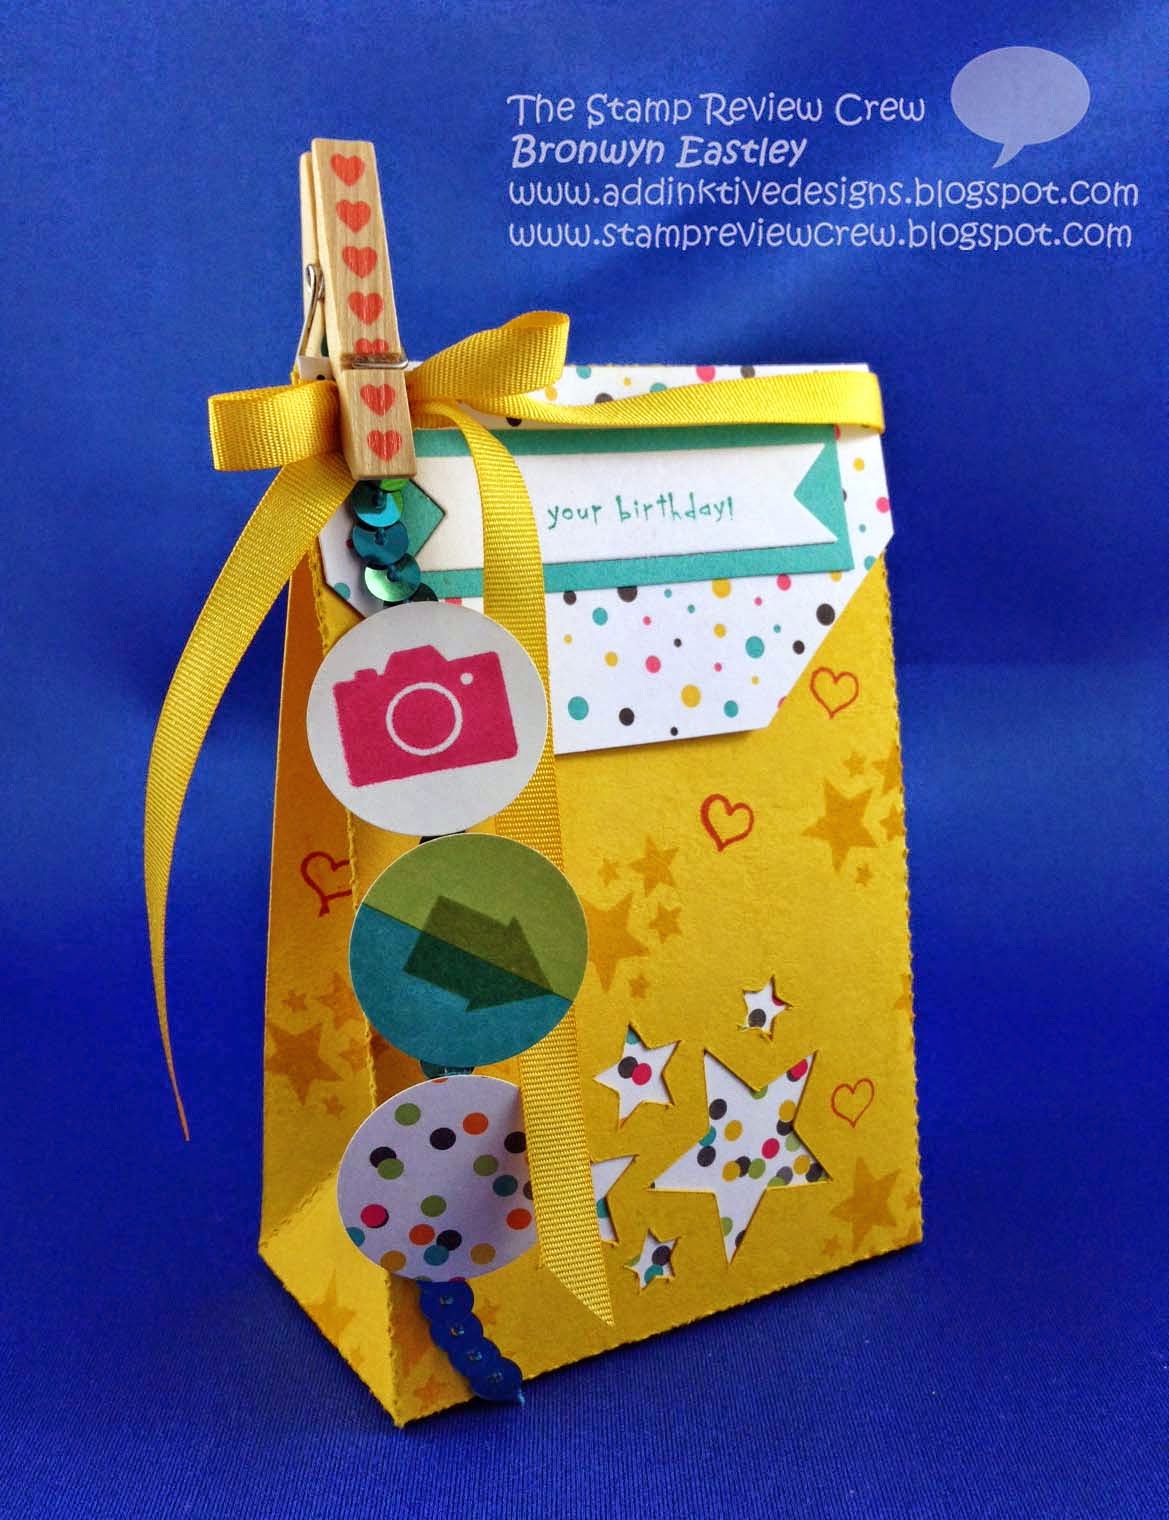
5. Assemble the gift bag with Sticky Strip and embellish (I think the photo shows you enough detail to explain how I did that bit).

If you get lost on the hop, just click on the image below and it will take you to the main blog with all the links -
Photopolymer Stamp Set - Project Life Point and Click
I have a confession to make, I'm not a scrapbooker and I did start off all enthusiastic about the introduction of Project Life, acquired quite a bit of stuff to get me started and I even bought a new Canon Digital Camera, but I haven't had the motivation to go down that path just yet. Maybe one day when I have a bit more time on my hands, I'll give it my best shot.I really scratched my head wondering what on earth I was going to make for this 'hop' and then the light bulb moment happened when I decided to download the digital version to use with my e-cutter and combine it with the photopolymer stamp set to make a little gift bag using the Cool Like That Giftable Templates. So here's my one and only project to share with you today -
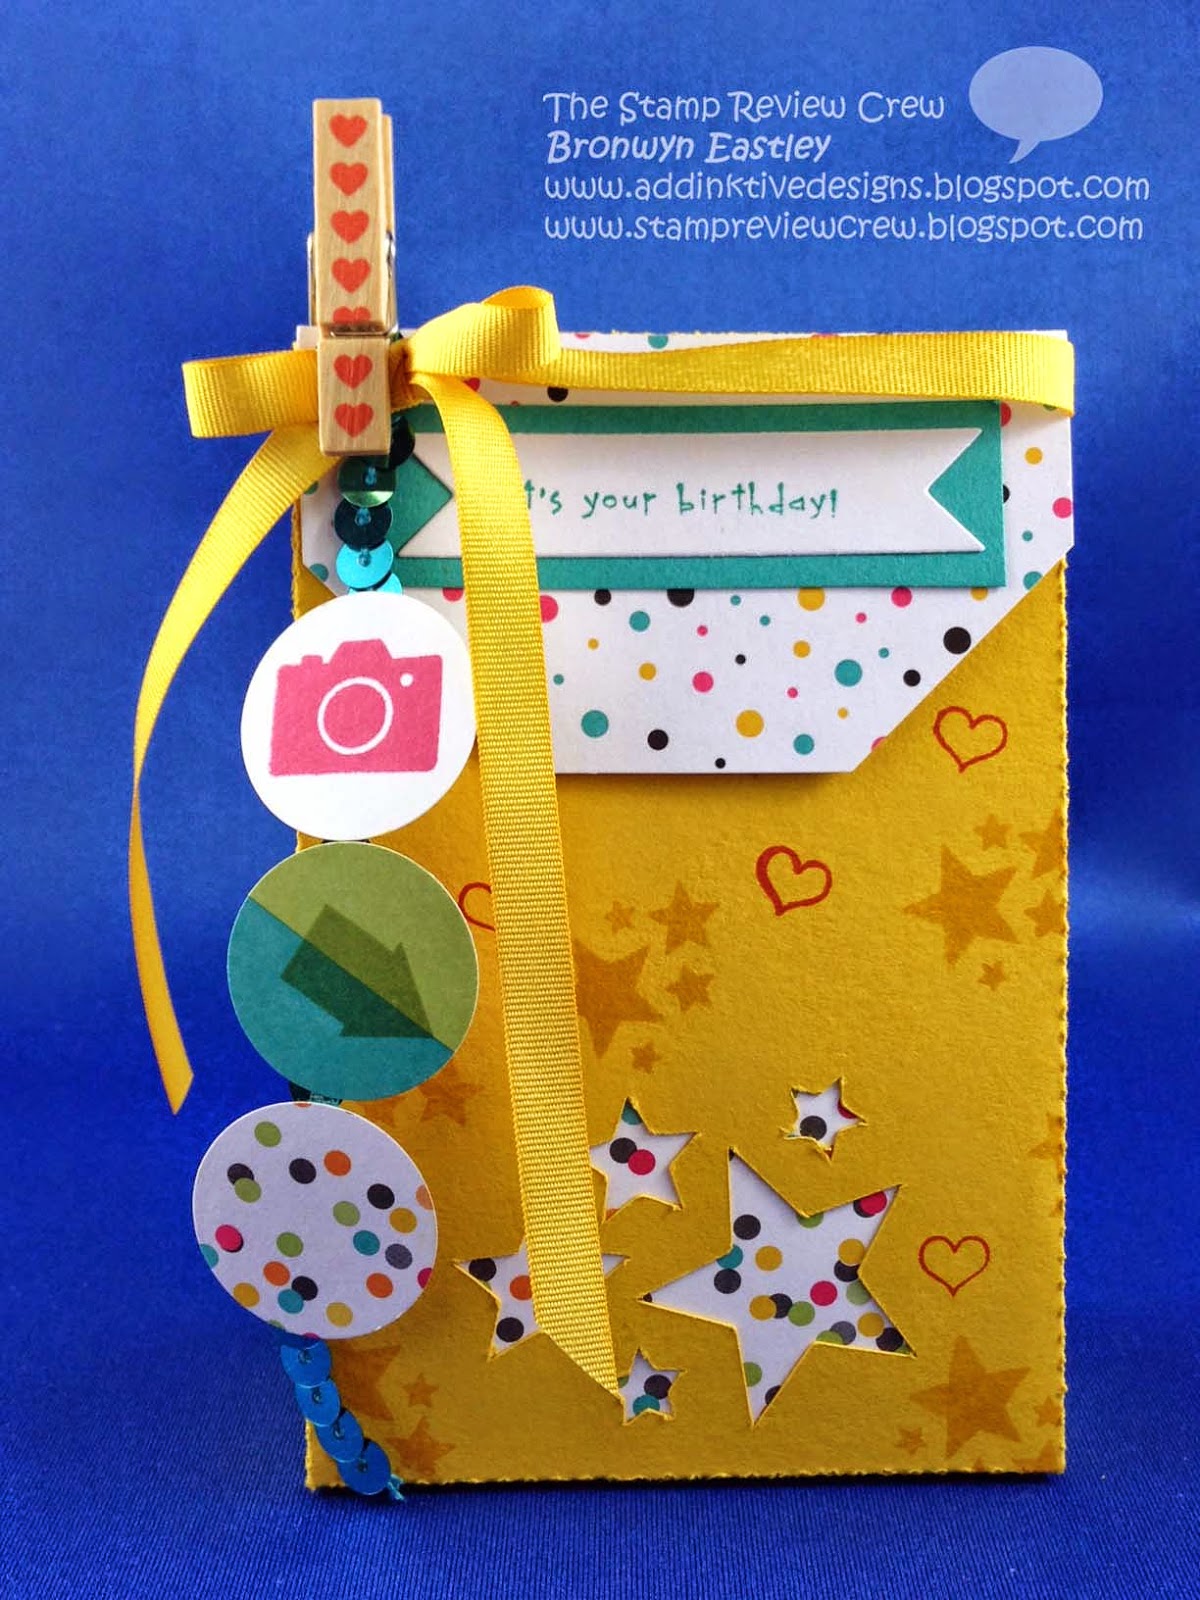
Point and Click Meets Cool Like That Gift Bag
The colour palette is taken from the Everyday Adventure Project Life Card Collection and I have cut up a couple of the cards to use as DSP on the gift bag.
Thanks for stopping by on the hop. Up next is Kerry Willard Bray from Peonies and Paper Chains.
Or back to Wendy Weixler from Wickedly Wonderful Creations.
If you want to stick around a little longer, here's a run down on how I made the gift bag -
1. Download the Cool Like That Giftable Templates (page 10 of the Annual SU Catalogue) and PL Point and Click Digital Download into your e-cutter program.
2. Position the cluster star digital stamp from Point and Click onto the gift bag template and turn it into a cutting file to produce the negative cut out on the bag.
3. Send to your e-cutter and let the machine do the hard work for you.
4. Attach part of a PL card inside the gift bag so the pattern can be seen through the stars.
5. Assemble the gift bag with Sticky Strip and embellish (I think the photo shows you enough detail to explain how I did that bit).
Enjoy!


Comments
So many cute elements and great use of the set!
http://addinktivedesigns.blogspot.com.au/2014/01/how-to-use-sus-digital-punches-with-e.html