Butterfly Basics for Colour Q
Hi there. I'm really lovin' the holiday break as I am finally getting a chance to play with a few new goodies and join in with a challenge or two.
I'm doing a bit of a catch up on cards and this one's for my mum. I had the idea for a card design so went looking for a colour combo and decided on the palette at Colour Q.


2. Fold over a section at the top of the back doily and adhere to the top of the front doily.


 4. Stamp an image and sentiment (Butterfly Basics - Crumb Cake, Basic Black) on the inside piece before adhering to the card.

5. Attach a ribbon (Crumbcake Taffeta) across the centre front and through the holes in the doily pattern.


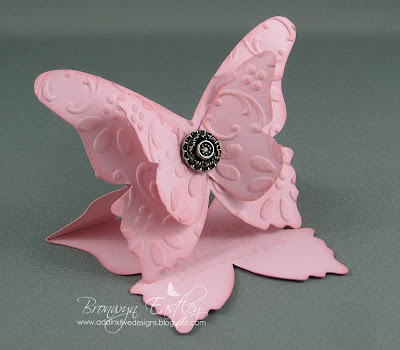
7. Cut out a butterfly (Butterflies Thinlits Dies - Calypso Coral ) and adhere to the front section.


I'm doing a bit of a catch up on cards and this one's for my mum. I had the idea for a card design so went looking for a colour combo and decided on the palette at Colour Q.
Here's a mini tutorial I put together -
TUTORIAL FOR DOILY CARD
1. Cut out two Darling Doilies (Whisper White)
2. Fold over a section at the top of the back doily and adhere to the top of the front doily.
Back
Front
3. Cut out a circle (sixth largest circle thinlit) and cut a small section from the top for the inside of the Doily Card.
5. Attach a ribbon (Crumbcake Taffeta) across the centre front and through the holes in the doily pattern.
6. Cut another circle (6th largest) from Rich Razzleberry Card Stock and a smaller Whisper White circle (5th largest) for the front of the card. Stamp background images (Butterfly Basics - Crumb Cake, Old Olive) onto the front circle and then emboss (Perfect Polka Dots)
7. Cut out a butterfly (Butterflies Thinlits Dies - Calypso Coral ) and adhere to the front section.
8. Add some Basic Pearls to the butterfly which have been coloured with a Blendabilities (Rich Razzleberry).
Thanks for stopping by,


Comments
Love your work Bronwyn.